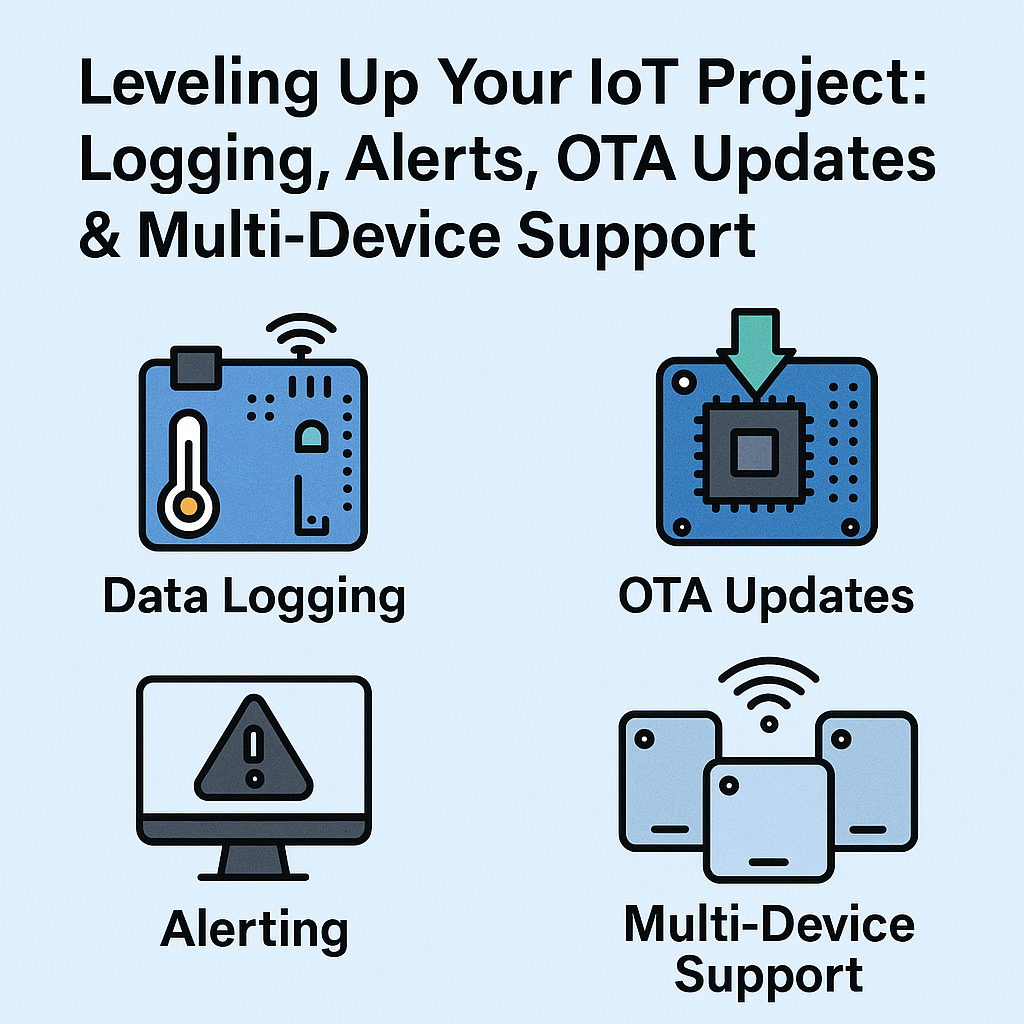
IoT Project Upgrade: Data Logging, Alerts, OTA Updates & Multi-Device Support
In our previous guide, we built an IoT system where an ESP32 sends sensor data to the cloud via MQTT and displays it in real time. Now it’s time to level up your project with key features every robust IoT system needs: data logging, real-time alerts, OTA firmware updates, and multiple device support.
1. Data Logging with Firebase
Real-time dashboards are great, but logging historical data is crucial for analysis. We'll use Firebase Realtime Database for persistent cloud storage.
1.1 Firebase Setup
- Create a Firebase project: console.firebase.google.com
- Enable Realtime Database and set rules to test:
{ ".read": true, ".write": true } - Generate a database secret for Arduino use
1.2 ESP32 Firebase Example
#include <WiFi.h>
#include <FirebaseESP32.h>

#define WIFI_SSID "YourWiFi"
#define WIFI_PASSWORD "YourPass"
#define FIREBASE_HOST "yourproject.firebaseio.com"
#define FIREBASE_AUTH "your_firebase_secret"

FirebaseData fbdo;

void setup() {
  Serial.begin(115200);
  WiFi.begin(WIFI_SSID, WIFI_PASSWORD);
  Firebase.begin(FIREBASE_HOST, FIREBASE_AUTH);

  float temperature = 26.4;
  String path = "/device1/logs/" + String(millis());
  Firebase.setFloat(fbdo, path + "/temperature", temperature);
}

void loop() {}
You can later export the logs to Google Sheets or visualize them using Grafana or Google Data Studio.
2. Real-Time Alerts with IFTTT or Webhooks
Alerts can notify you when critical thresholds are breached (e.g., temperature too high). We’ll use Firebase + IFTTT for this example.
2.1 Configure IFTTT
- Create a Webhook-triggered applet on IFTTT
- Use Firebase as the trigger and Telegram/Email as the action
2.2 ESP32 Triggering an Alert
if (temperature > 30.0) {
  Firebase.setString(fbdo, "/device1/alerts", "🔥 High temperature detected!");
}
3. OTA (Over-the-Air) Firmware Updates
OTA lets you push new firmware without physically reconnecting your ESP32. Perfect for remote or sealed devices.
3.1 Arduino OTA Setup
#include <WiFi.h>
#include <ArduinoOTA.h>

void setup() {
  WiFi.begin("YourSSID", "YourPass");
  while (WiFi.status() != WL_CONNECTED) delay(500);
  ArduinoOTA.begin();
}

void loop() {
  ArduinoOTA.handle(); // always keep it in loop
}
Now you can push updates from Arduino IDE by selecting the "Network" port (after uploading the first time via USB).
4. Supporting Multiple Devices
As your system grows, you’ll want to track multiple devices independently. Assign each device a unique ID and structure your database accordingly.
4.1 Firebase Structure
/device1/logs
/device2/logs
/device3/alerts
4.2 ESP32 Device-Aware Code
String deviceId = "device2";
String path = "/" + deviceId + "/logs/" + String(millis());
Firebase.setFloat(fbdo, path + "/humidity", humidity);
4.3 Dashboard Overview (React or Grafana)
- Create tabs or views per device
- Use charts per sensor reading stream
- Display last update time and status
5. Combine It All
At this point, your IoT architecture will look like this:
- 📡 ESP32 → MQTT → React Dashboard
- 🧠 ESP32 → Firebase → Logging + Alerting
- 🚀 PC → OTA → ESP32 Firmware Update
- 🧩 One Firebase DB, many device paths
6. Tips for Scaling & Security
- Use unique authentication tokens per device
- Enable TLS for secure Firebase and OTA uploads
- Compress and validate OTA payloads
- Structure logs for time-series export (e.g., InfluxDB)
Summary
You’ve now added key capabilities to your IoT project: persistent logging, smart alerts, OTA upgrades, and the foundation for scaling to many devices. These features are what transform a hobby project into a scalable solution.
In the next post, we’ll secure the system further with API keys, build a dashboard with user-level authentication, and implement device provisioning workflows.

Add your comment